
Quick Guide: How to Identify a Water Heater Leak Before It's Too Late
Suspecting a leak from your water heater can be worrisome. You need to spot the problem before it evolves into costly damage. This guide cuts to the chase, outlining how to identify a water heater leak with practical signs and immediate steps to respond effectively.
Key Takeaways
-
Early detection of water heater leaks through signs like unusual noises, moisture, and visible rust or corrosion can prevent extensive and costly property damage.
-
When suspecting a leak, immediate action is to shut off the water supply and power, followed by a professional inspection to avoid safety hazards and electrical risks.
-
Regular maintenance such as annual inspections, tank flushing to prevent sediment buildup, and checking the pressure relief valve is essential to extend the life of a water heater and avoid leaks.
Spotting the Signs of a Water Heater Leak
Have you ever heard a faint hissing or dripping when all else is quiet in your home? It’s not just the soundtrack of a serene night—it could be a stealthy water heater leak trying to tell you something. Detecting the issue early can protect you from the expensive repercussions of water damage. Common indicators include:
-
unusual noises
-
moisture around the base
-
rust
-
corrosion
All of these can signal that your hot water tank is in trouble. Ignoring these signs is like waiting for a small spark to ignite a blaze; water pooling at the water heater’s base could escalate into flooding, leading to significant property damage.
Such leaks can stem from a range of issues, including a damaged tank or the accumulation of sediment that creates pressure problems and rust. Aside from the inconvenience, such leaks can lead to water wastage and higher utility costs. So, what exactly should you be on the lookout for? We’ll decipher the signs that indicate your water heater’s distress.
Unusual Sounds from Your Heater
Is your water heater serenading you with pops and crackles? These sounds might be more sinister than a symphony; they’re often the first sign of sediment building up in your tank. This unwelcome gritty guest settles at the bottom. As water heats up, rising steam bubbles create noise while escaping through the sediment layer. Over time, this can solidify, leading to potential cracks and leaks within your water heater.
If left unchecked, the sediment can wreak havoc on your heater’s efficiency and longevity. Strange noises like banging or crackling aren’t just a nuisance; they’re a cry for help, a sign that it’s time to flush the tank to clear out the sediment. An annual flush can prevent these noises and the damage they foretell, keeping your water heater leak-free and functioning smoothly.
Moisture around the Water Heater Base

A small puddle or dampness near your water heater might not seem like a big deal, but it’s the equivalent of a red flag waving furiously. Pooling water could indicate a leak from the inner tank that demands immediate inspection. To investigate, clean the area and observe it closely. If water returns, you’ve got a persistent leak on your hands. Yet, sometimes moisture is merely condensation; to differentiate, observe if it reappears evenly after wiping—a sign of harmless water forming on the surface.
A consistent leak not linked to a tempering valve, often resulting in water accumulation around the heater, is a telltale sign of an internal issue. This usually means a non-repairable problem that might require you to say goodbye to your current unit and hello to a new water heater leaking, just like your old leaky water heater.
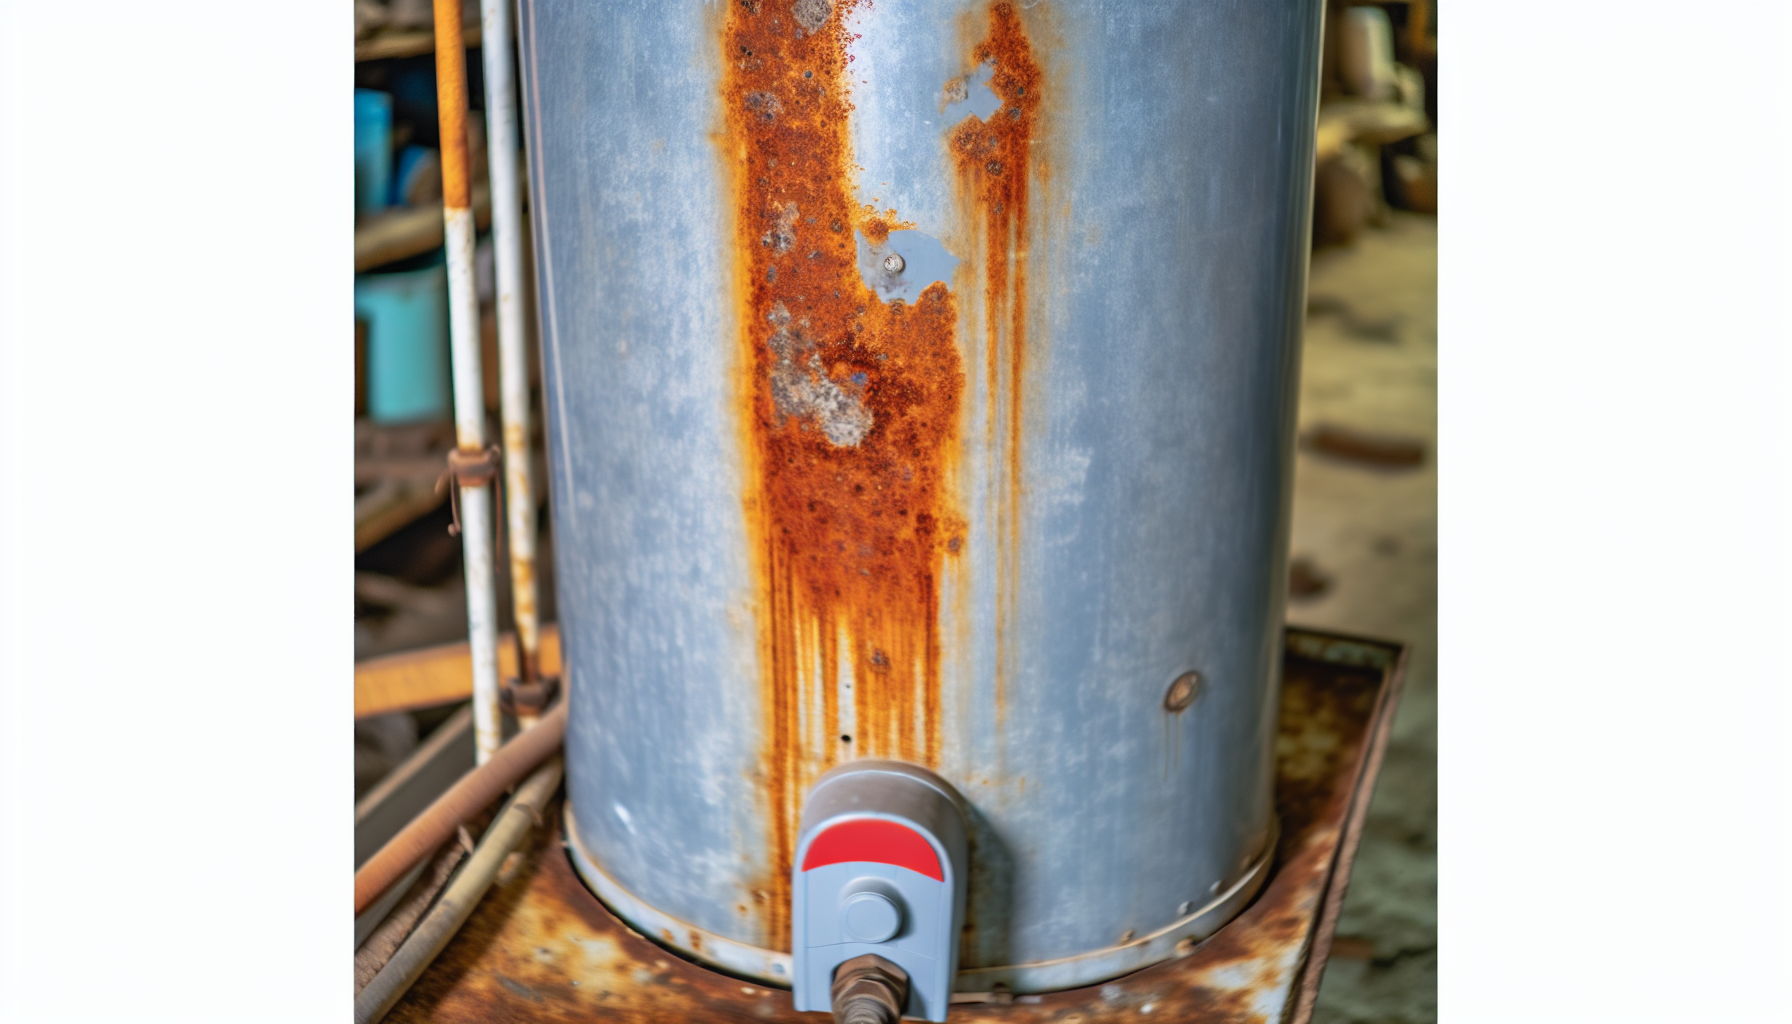
Rust and Corrosion
Rustling leaves can be a soothing sound, but rustling through your tools to fix a rusty water heater? Not so much. Rust and corrosion on your water heater are more than cosmetic issues; they’re harbingers of leaks to come. The severity of local weather, tank design, and the quality of installation all contribute to the possibility of your tank throwing in the towel due to rust.
Loose fittings, especially after facing harsh weather conditions, can result in leaks that both indicate and cause rust. It’s a vicious cycle: as rust forms, it weakens the integrity of the tank, making it more susceptible to leaks, which in turn leads to more rust. Inspecting for loose connections and weather-related damage is thus essential to nip potential leaks in the bud.
Initial Steps Upon Discovering a Leak
The moment you spot a water leak, it’s time to spring into action like a home maintenance superhero. Swift intervention is key to avoiding water damage and inflated water bills. Don’t dilly-dally; if a leak is suspected, the first course of action is to shut off the water at the mains posthaste.
Now is not the time to hesitate—immediately disconnect your power supply to ensure safety and avoid any electrical accidents. And while you might feel like a DIY maverick, remember that calling a professional plumber is one of the first actions you should take once a water heater leak is confirmed.
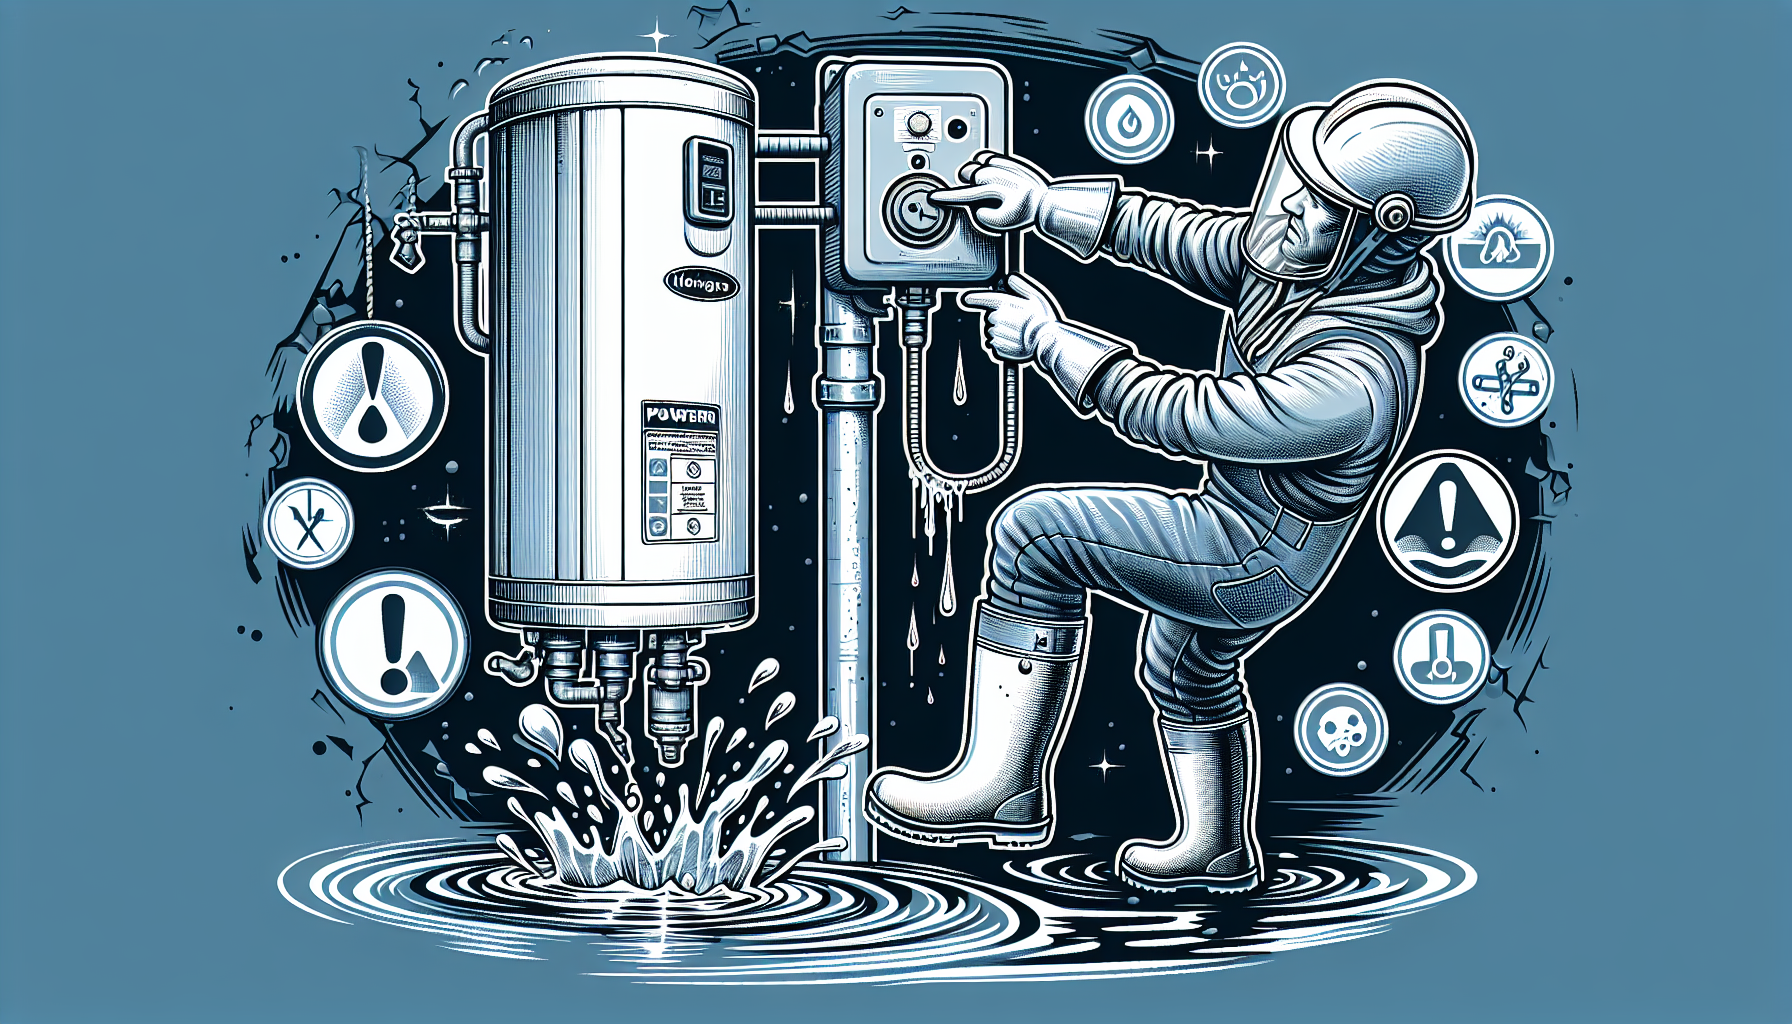
Shut Off the Power Supply
Whether you have an electric or gas water heater, cutting off the power supply is a critical first step. For electric heaters, head to your electrical panel and flip the breaker linked to your water heater. Keep it off throughout the repair process to prevent any current from coursing through the unit. Gas heaters have a dial that can be set to ‘vacation mode’ or ‘pilot’ to quickly turn off the heater, or you can turn it to ‘off’ if you want to completely stop the unit, which will necessitate relighting the pilot light later.
In the case of gas water heaters, also consider turning off the gas supply to eliminate risks; this can be done by adjusting the handle on the supply line to a perpendicular position relative to the gas pipe. Remember, safety first—when dealing with gas or electricity, it’s always better to err on the side of caution, whether you’re using a gas water heater, an electric water heater, or a hot water heater, which could be an electric heater.
Close the Cold Water Inlet
Now, with the power safely off, it’s time to tackle the water supply. Here’s what you need to do:
-
Locate the cold water shut-off valve, usually found on the top right of the water heater.
-
If it’s a ball valve, twist the handle to the “off” position by turning it counterclockwise until it’s firmly closed.
-
For gate valves, give the knob about 5 to 6 counterclockwise turns until it won’t budge anymore.
Doing this halts water from further escaping your hot water tank and gives you breathing space to figure out the next steps.
Diagnosing the Source of the Leak
Once the immediate crisis is managed, it’s essential to investigate and locate the leak’s source. Here are the steps to follow:
-
Start by cleaning the area around the heater and check the next day for new water accumulation to locate a potential tank leak.
-
Look at the top of the water heater for leaks at points where pipes or tubes enter the tank. If there are leaks from the top, it could be a simple case of loose cold or hot water inlets that need some tightening with a pipe wrench.
-
Side leaks might suggest a faltering temperature pressure relief valve that might require setting adjustments or replacement.
For leaks at the bottom, inspect the drain valve for corrosion or ensure it’s properly tightened if it appears intact. The hot and cold inlets and outlets are particularly vulnerable to damage that causes leaks. If the leak isn’t coming from the heater itself, it’s wise to inspect connected systems like air conditioning or water softener lines, as well as the water supply lines to the heater.
Investigating the Pressure Relief Valve
The pressure relief valve is like the pressure cooker’s whistle for your water heater—it’s there to let off steam, quite literally. To check its well-being, follow these steps:
-
Lift and lower the test lever several times to see if the valve’s brass stem moves freely.
-
Check if hot water exits the drainpipe during the test. A lack of water or a mere trickle could signal mineral salt, rust, or corrosion buildup, which would necessitate a valve replacement.
-
If there’s a leak after the test, work the lever a few times to clear any debris hindering the valve from sealing properly.
-
A constant leak from the valve is a clear sign of malfunction, often requiring a new valve to ensure safety.
The drainpipe connected to the relief valve should slope downwards to prevent water from getting trapped—this can cause corrosion, freezing, or dangerous pressure build-up. Regular checks of the pressure relief valve are vital for it to relieve excess tank pressure properly and prevent potential leaks or even bursts. If leaks persist despite an appropriate temperature setting, it’s time for a valve replacement. Also, ensure the pipe connected to the relief valve matches the valve’s exhaust port in diameter and is made from heat-resistant material.
Examining the Drain Valve
The drain valve, though often overlooked, plays a pivotal role in your water heater’s health. Located near the bottom, leaks here can appear as a slow drip or a more alarming steady stream. To investigate, make sure the valve is completely closed; if water continues to leak, it’s a sign of a faulty valve.
If the leak persists after ensuring the valve is closed, try tightening it with a pipe wrench—sometimes, a minor leak can be remedied with a slight adjustment. If tightening doesn’t stop the waterworks, the drain valve might be damaged beyond repair and need replacing.
Checking Pipe Connections and Tank Integrity
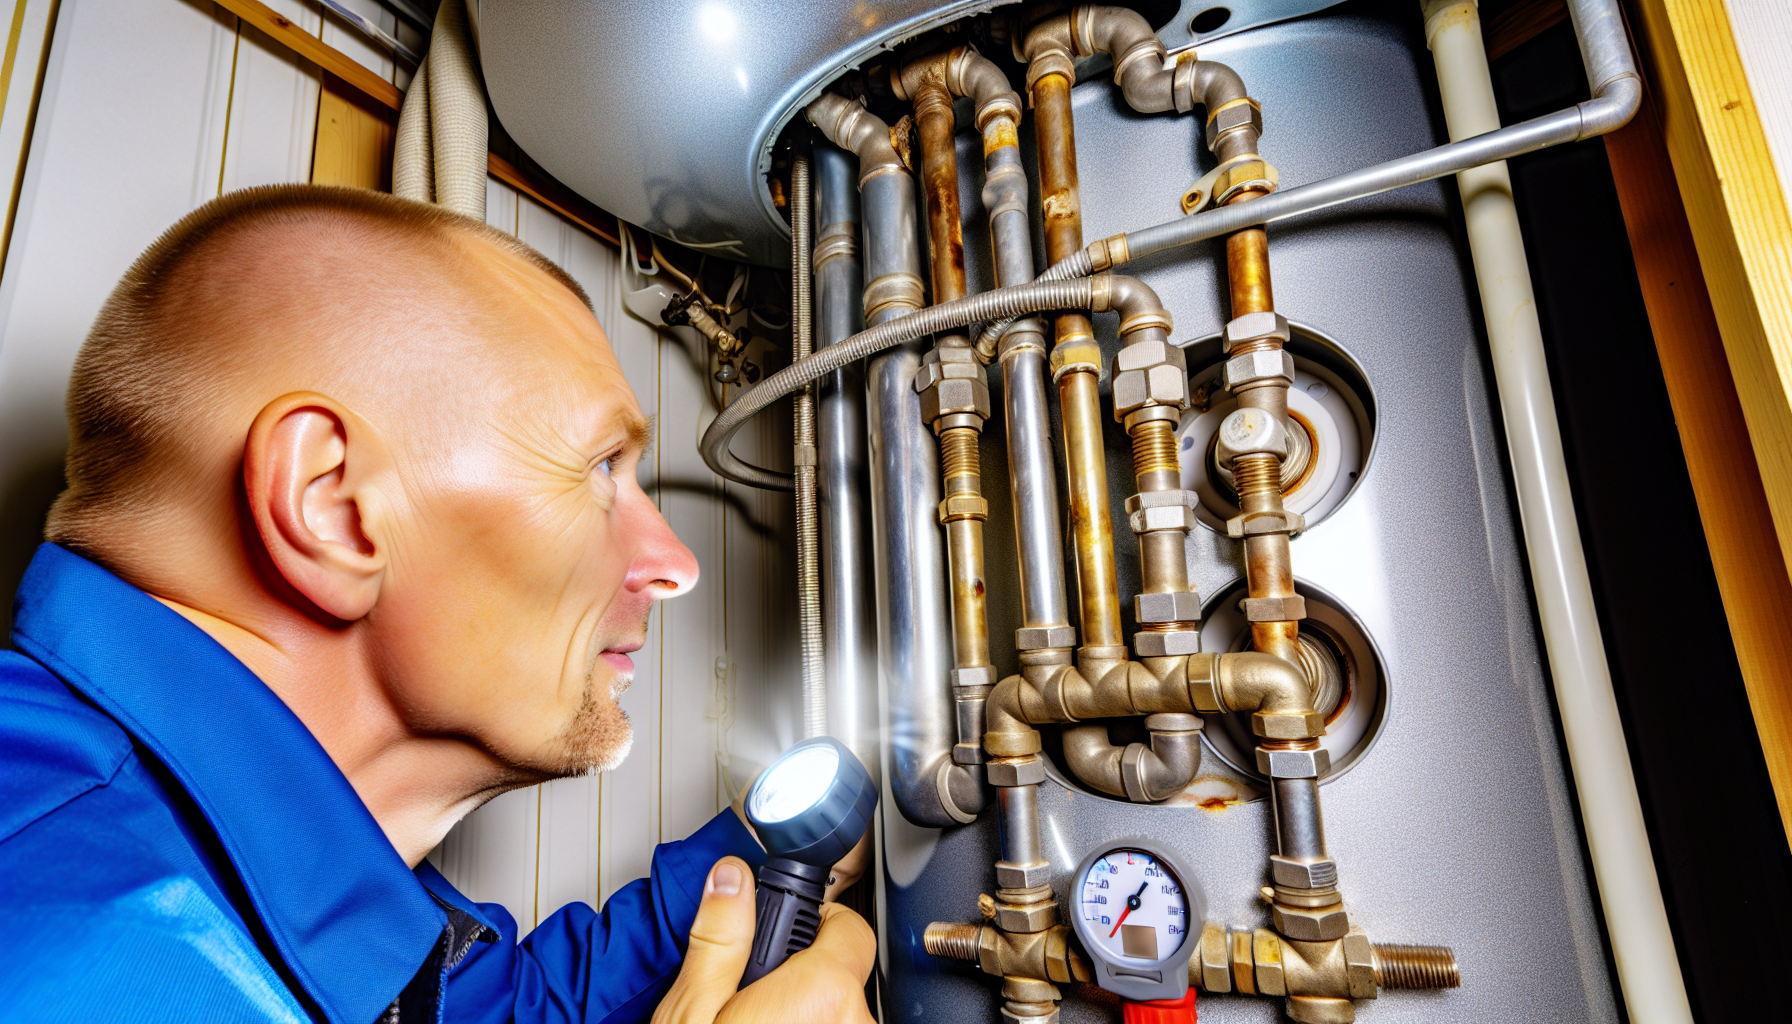
Leaks can also be a symptom of a deeper issue within your water heater. If you notice that your water heater is leaking, a close inspection of the valves for any signs of corrosion or looseness is a good start. Check the top of the heater where pipes enter the tank for damaged pipe joints or loose connections. If water heater leaks are stemming from the top, tighten the cold and hot water inlet pipes with a pipe wrench.
But if you find pools of water under the tank, it’s a strong indicator of a leak from within the tank, pointing to damage to the tank or an internal component. Sometimes, leaks are not readily visible, so further investigation is needed to uncover hidden issues within the tank. To prevent leaks at these points, it’s crucial to regularly inspect water heater connections for signs of corrosion or looseness.
When to Repair vs. Replace Your Water Heater
You’ve identified the leak, but now comes the million-dollar question: to repair or replace? It’s a crossroads many homeowners face, and the decision isn’t always clear-cut. Consider the following factors:
-
The age of your water heater. If it’s nearing or past its expected service life of around 10-13 years, it might be time to start shopping for a new model.
-
Regular faults. If your water heater has been diligently warming your baths for over a decade and is experiencing frequent issues, it’s a sign that it’s time to retire the old workhorse.
-
Safety standards. If your water heater is an antique that doesn’t meet modern safety standards or building codes, replacing it is not only advisable but also a safety necessity.
The ‘50% rule’ serves as a useful benchmark. If repair costs exceed half the price of a new unit, it’s often smarter to invest in a new model. However, if your heater is relatively young, with repair costs totaling less than half the price of a new one, fixing it might be the most cost-effective route. But if significant damage, such as extensive corrosion or a substantial leak, has occurred, repairs might be more like putting a bandage on a broken dam. Safety should always be your top priority, and non-compliance with modern standards should prompt you to replace your old unit. Lastly, consider if your current water heater can keep up with your household’s growing needs—if not, it’s time for an upgrade.
Cost-Effectiveness of Repairs
When faced with minor issues like a broken heating element or a tripped circuit breaker, repairing is often the most cost-effective solution, especially if your water heater is on the younger side of its lifespan. Performing a cost analysis that weighs the repair expenses against the costs and potential energy savings of a new model can guide you in making an informed decision.
Keep in mind, though, that some repairs may only be a temporary fix, and recurring problems can quickly turn a cost-effective repair into a money pit. Repairs are generally quicker and less disruptive than a full replacement, and when it comes to solar systems, sometimes just replacing the tank is more cost-effective than changing the entire setup.
Signs You Need a New Water Heater
When the water from your tap starts resembling a rusty potion or tastes like a metal medley, it’s a clear-cut sign that internal rusting within your water heater is at play. Such corrosion is a precursor to leaks and often spells out the need for a full replacement of the unit since it indicates significant deterioration inside. Continuous puddles beneath the heater or experiencing low water pressure can also signal critical issues like a failing anode rod, a cracked tank, or burst pipes—problems that typically call for a new water heater.
Recognizing these warning signs early—like rusting, persistent leaking, and water pressure troubles—is crucial. They’re not just inconveniences; they’re the water heater’s swan song, urging you to consider replacement before a minor leak escalates into a full-blown disaster.
Maintaining Your Water Heater to Prevent Future Leaks
Routine maintenance for your water heater is essential to ensure its longevity and efficiency. Here are some important tasks to include in your maintenance routine:
-
Schedule annual inspections to check for any issues or potential problems.
-
Regularly drain and flush the tank to remove sediment buildup, which can affect the heater’s performance.
-
Check the pressure relief valve to ensure it is functioning properly.
-
Insulate the pipes and tank to improve energy efficiency. By following these maintenance tasks, you can prevent costly repairs and ensure that your water heater operates at its best.
Think of it as a health check-up for your water heater, catching potential issues early and saving you from the headaches of unexpected breakdowns.
Annual Inspections and Maintenance
An annual inspection by a licensed plumber acts as a performance review for your water heater, ensuring all parts are functioning properly and efficiently. Skipping these check-ups could lead to the deterioration of crucial components like anode rods, which protect against internal rusting and leaks. Moreover, continuous exposure to condensation without proper maintenance can lead to corrosion and long-term damage to your water heater.
By maintaining, flushing, and checking the anode rod as part of regular maintenance, you can delay the need for replacement and extend the life of your water heater. It’s a small effort that pays off in the long run by maintaining consistent performance and preventing unexpected surprises.
Flushing the Tank to Reduce Sediment Buildup
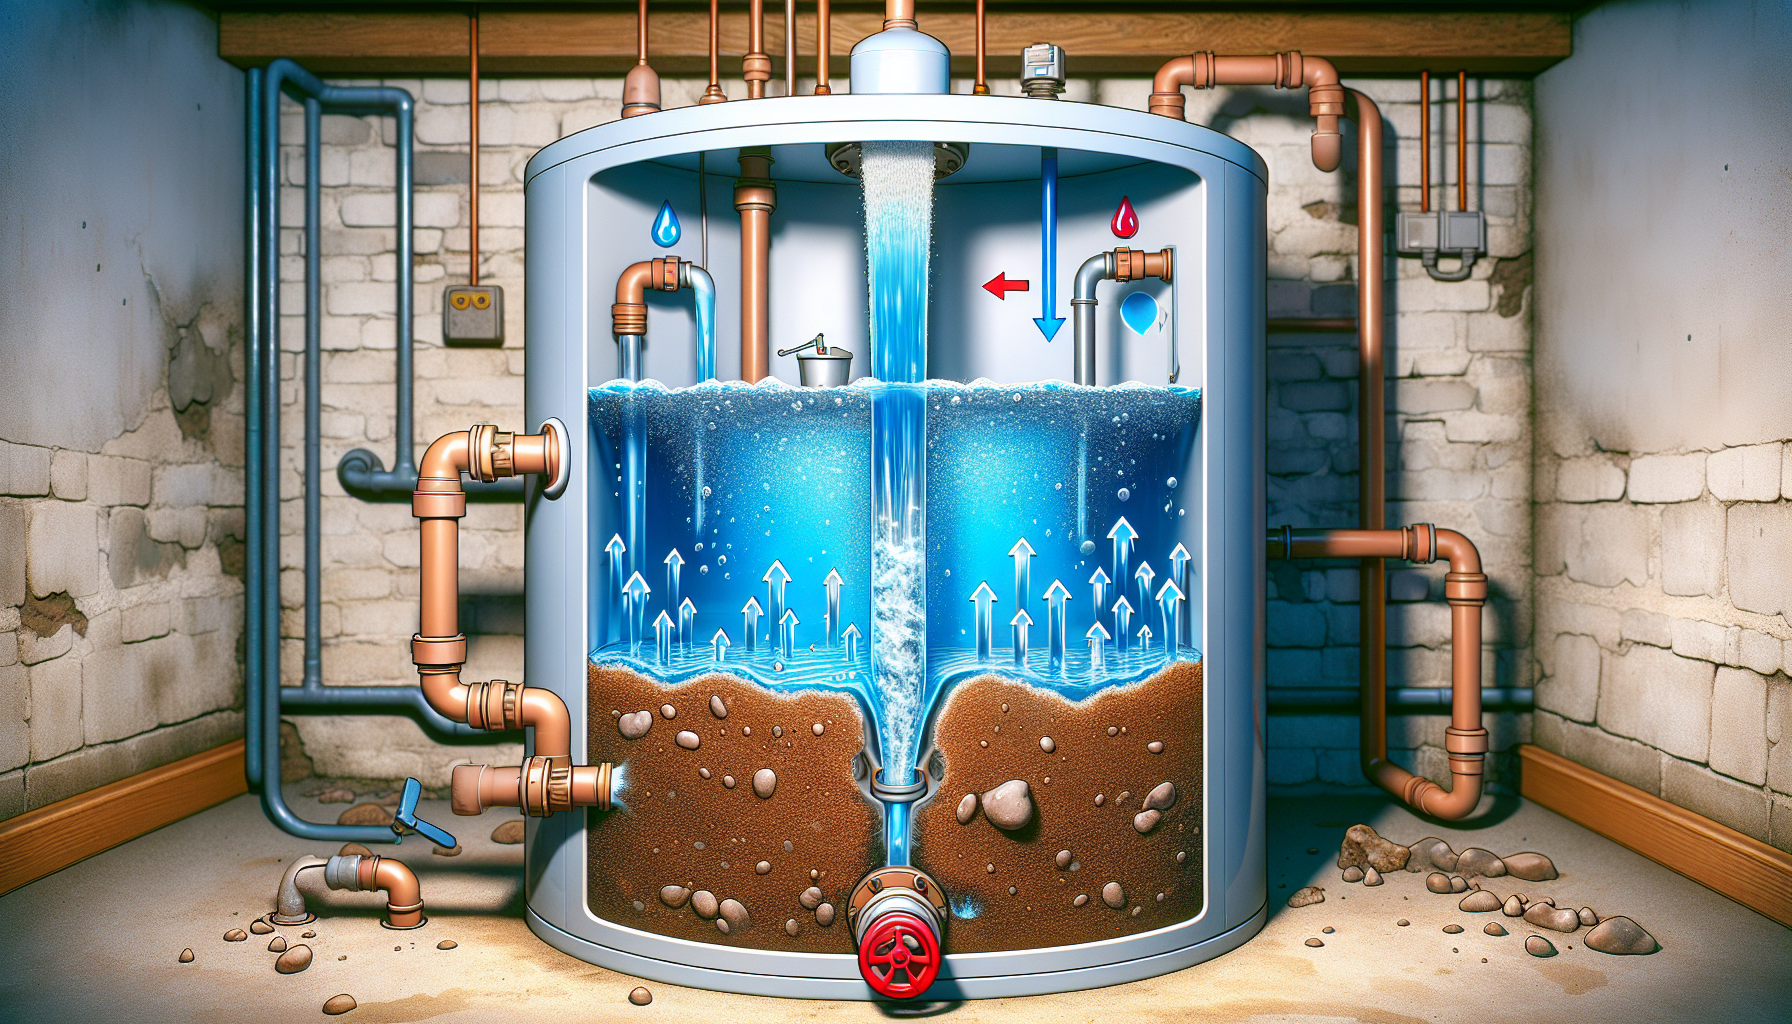
Flushing the water heater tank is a critical but frequently overlooked maintenance task. Doing so annually can prevent the accumulation of sediment, which in turn reduces the risk of:
-
leaks from both pipe connections and the tank itself
-
a drop in water temperature
-
higher heating bills
-
hot spots that eat away at the tank
-
corrosion and rust
Each of these is a potential harbinger of leaks.
Even the drain valve can succumb to leaks if sediment interferes with its sealing mechanism. If you’re noticing your water temperature isn’t what it used to be, your bills are climbing, or there’s discoloration on your water heater tank, it might be time for a good flush.
Summary
Congratulations, you’ve just navigated the ins and outs of water heater leaks—from early detection to emergency measures, pinpointing the source, and deciding between repair or replacement, to the crucial role of maintenance. Remember, your water heater is an unsung hero in your home, and with a little TLC, it will serve you well for years to come. Keep an ear out for unusual noises, an eye on the base for moisture, and don’t let rust and corrosion go unchecked. Be proactive, not reactive, and you’ll stay one step ahead of water heater woes.
Frequently Asked Questions
What to do if your hot water heater is leaking from the bottom?
If you notice water leaking from the bottom of your water heater, it may be due to a faulty drain valve. Inspect the drain valve for corrosion and replace it if necessary.
Can I still use water heater if it is leaking?
Yes, you can still use your water heater if it's leaking while waiting for a plumbing professional to fix it for you. Just be cautious.
What is the most common cause of a water heater leak?
The most common cause of a water heater leak is old age, leading to the need for system replacement due to potential issues such as splitting or corrosion of the storage cylinder. Worn out components in instantaneous systems could also lead to fractures or cracks.
How can I tell where my water heater is leaking from?
To locate the source of the leak in your water heater, inspect the cold water inlet, hot water outlet connections, temperature and pressure relief valve, drain valve, and the bottom of the tank. Keep an eye out for any signs of leakage in these areas.
How often should I inspect my water heater for leaks?
You should visually inspect your water heater regularly and have a licensed plumber do a thorough inspection annually to ensure it's in working order. Annual inspections are important for maintaining the water heater's efficiency and safety.